Description
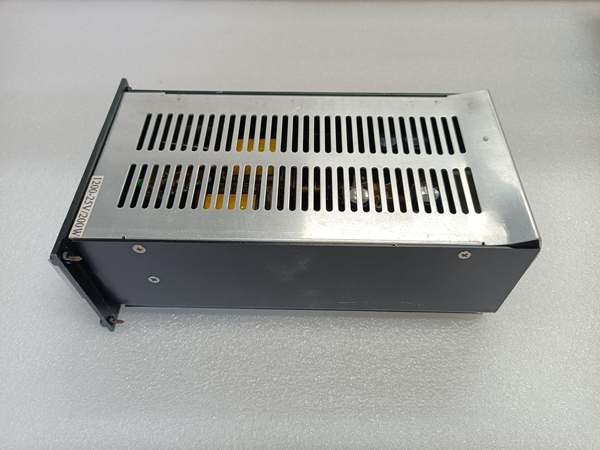
Hard Numbers: Technical Specifications
- Dimensions: 14 inches (W) x 14 inches (H) x 5 inches (D)
- Weight: Approx. 5 pounds
- Electrical Requirements: 120 Volts, 60 Hz, 1.0 Amps
- Duct Size Compatibility: 6 inches
- Sound Level: 0.6 sones (Ultra-quiet operation)
- Mounting Type: Wall-mounted
- Finish: White
- Safety Certification: UL Listed
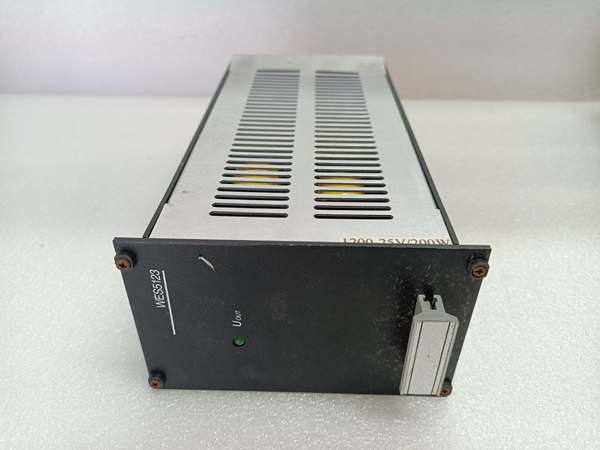
WES5123-1400
The Real-World Problem It Solves
Stale air, lingering cooking smells, and excessive humidity can quickly make indoor spaces uncomfortable and even lead to mold or grease buildup. The GE is engineered to solve these everyday air quality issues efficiently. Its compact 14-inch design makes it perfect for targeted ventilation in bathrooms, laundry rooms, or above kitchen stoves. By quietly and effectively exhausting stale air to the outside, it helps maintain a fresh, clean, and healthy indoor environment.
Where you’ll typically find it:
- Residential Kitchens & Bathrooms: Installed through an exterior wall to vent out moisture, odors, and airborne grease.
- Small Commercial Spaces: Used in breakrooms, restrooms, or small workshops requiring localized air extraction.
- Utility Rooms: Helping to dissipate heat and fumes from appliances like washers, dryers, or water heaters.
Hardware Architecture & Under-the-Hood Logic
While fundamentally a ventilation appliance rather than a complex computing board, the incorporates straightforward yet effective electromechanical engineering:
- High-Efficiency Motor: Drives the fan blades to move a significant volume of air against the static pressure of the 6-inch ductwork, ensuring rapid air exchange.
- Aerodynamic Fan Blades: Designed to maximize airflow while minimizing turbulence, which is directly responsible for achieving the ultra-low 0.6 sone noise rating.
- Integrated Shutter/Louvers: Features a mechanism (often gravity or spring-loaded) that automatically opens when the fan is activated and closes when off, preventing backdrafts and insect entry.
- UL-Listed Enclosure: The housing is constructed from corrosion-resistant materials, ensuring safe and durable operation even in high-humidity environments.
WES5123-1400
Field Service Pitfalls: What Rookies Get Wrong
Incorrect Duct Sizing
Rookies often try to connect the fan to existing ductwork that is too small or too large. The is optimized for a 6-inch diameter duct. Using a smaller 4-inch duct will restrict airflow, cause the motor to overheat, and significantly increase noise levels. Using a much larger duct can reduce extraction efficiency.
- Field Rule: Always verify that your wall cut-out and subsequent ductwork are precisely 6 inches in diameter to maintain manufacturer-specified CFM (Cubic Feet per Minute) and static pressure.
Improper Electrical Wiring (Voltage Mismatch)
Although designed for a standard 120V AC supply, rookiess sometimes tap into a 220V line (common in kitchens for electric stoves) without checking the specifications. Supplying 220V to this 120V device will instantly fry the motor windings and void the warranty.
- Quick Fix: Always double-check the circuit voltage with a multimeter before connecting the fan’s wiring. Ensure a dedicated 120V, 60Hz circuit is used, protected by a 15A or 20A breaker.
Neglecting the Built-in Damper
The fan features an integrated damper to prevent outside air from entering when the fan is off. Rookies sometimes remove or disable this damper during installation, thinking it improves airflow. This leads to cold/hot air backdrafts, increased energy bills, and potential pest entry.
- Field Rule: Never remove or tape open the factory-installed damper. Ensure it is free of debris and moves smoothly during installation to guarantee a tight seal when not in use.